Super Cheap SSL Certs for Your Home Lab or Small Business
I <3 cheapsslsecurity.com. They (and probably others) sell globally recognized $5.99 annual certs. Now, all of my lab stuff (Lync/RD Gateway/NetScaler/SSL VPN) is encrypted, and I no longer have to manually install my Domain CA's root cert on my phones/other devices. They don't have an affiliate program, so I'm not getting any money from this blog post. I just want to spread the joy.
Update (2025): Today, most home labs and small environments use free ACME certificates (for example, Let’s Encrypt via a client like win-acme or Certbot). If you need a traditional paid DV cert or can’t use ACME, the steps below still apply. Also note that Comodo rebranded to Sectigo; product names may differ, but the flow is similar. For production or sensitive environments, generate your key/CSR locally (IIS, OpenSSL, or PowerShell) so your private key never leaves your system.
Certs can be purchased using Visa or PayPal, and the whole process takes about 5 minutes. And now that you can verify your identity using email, gone are the days of faxing incorporation paperwork to Certificate Authorities. Even the Certificate Signing Request process has been simplified and can be completed online at cheapsslsecurity.com or the open source CSRgenerator.com.
Now to get your own legitimate $5.99 SSL Cert in 12 steps.
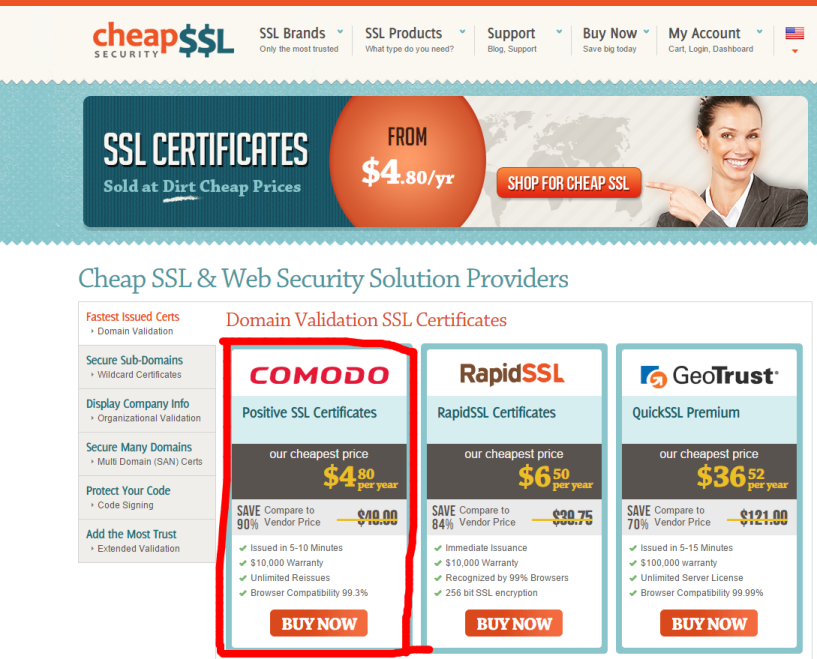
Step 1
You can choose different vendors, but I always use Comodo because why not.
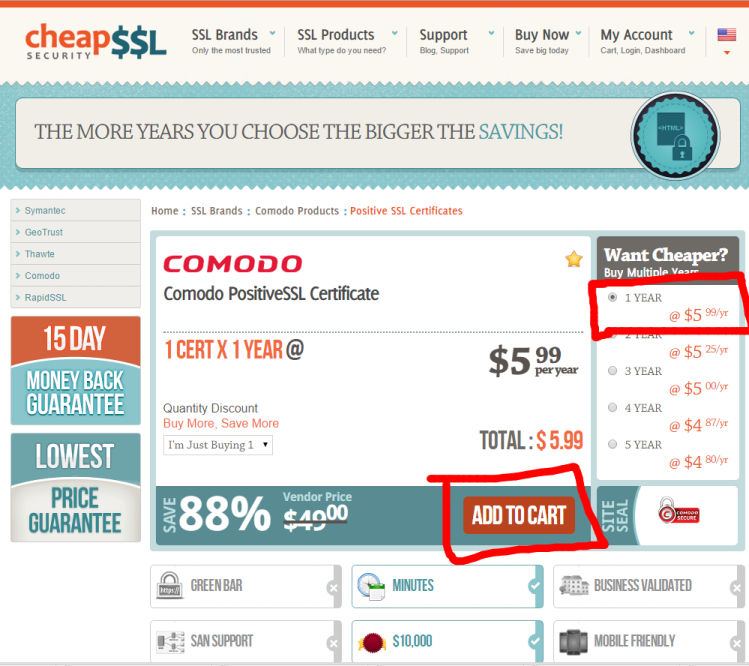
Step 2
Select one year (or more if you want), then Add to Cart.
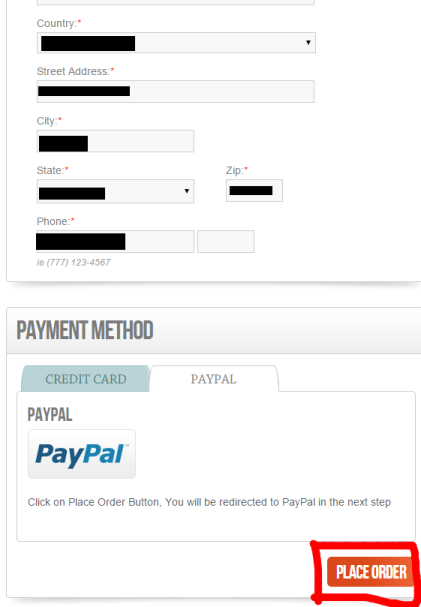
Step 3
Fill in all of your billing info, then select Visa or PayPal. I went for PayPal and then clicked Place Your Order.
Step 4
Next Complete Your Order

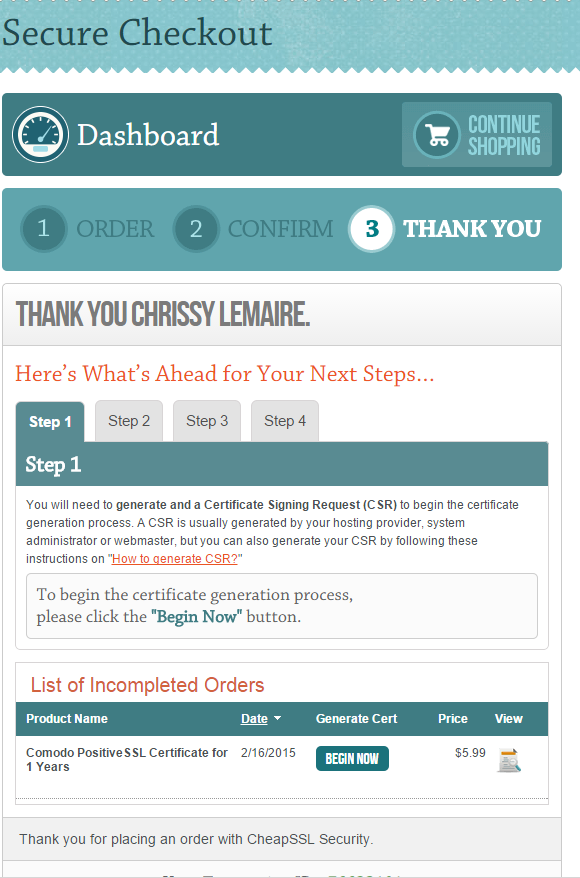
Step 5
Almost done! Now your order moves to Incomplete Orders, because you still have to do a few more steps. Click Begin Now to start the process of generating your CSR, verifying your identity, then receiving the SSL certs via email.
Step 6
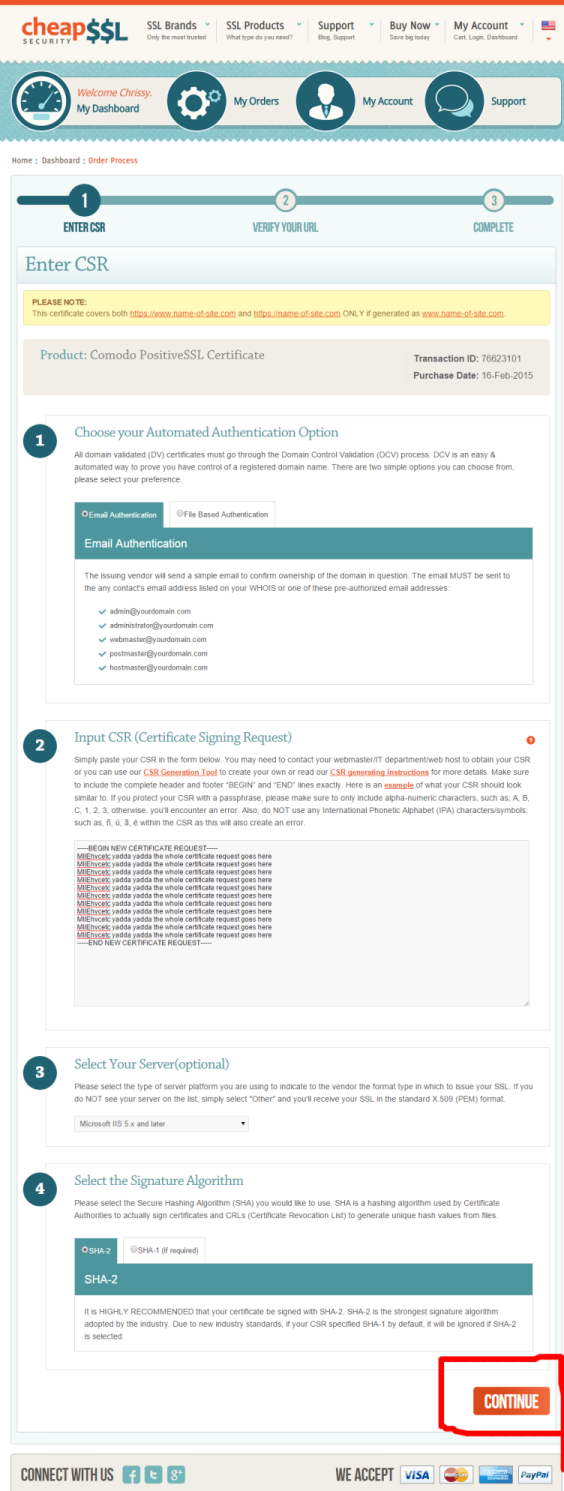
Next, you'll be prompted to choose the method to verify your identity. I chose e-mail because the email address associated with my request is the admin email in my domain's WHOIS. If you choose the File authentication method, you'll just have to save the file to your domain's webpage and then they verify it that way. DNS TXT validation is also common now and works great for labs and automation.

Step 7
You'll also be prompted to specify the type of webserver you're using, and finally you'll be prompted to paste in your certificate signing request or CSR. You can generate your CSR however you like, be it via IIS, OpenSSL or using a webpage. I chose to do it via the web by clicking their link CSR Generator Tool which opens this webpage in a new tab. If you're securing anything beyond a lab, prefer generating the key/CSR locally and never uploading or pasting a private key into a website.
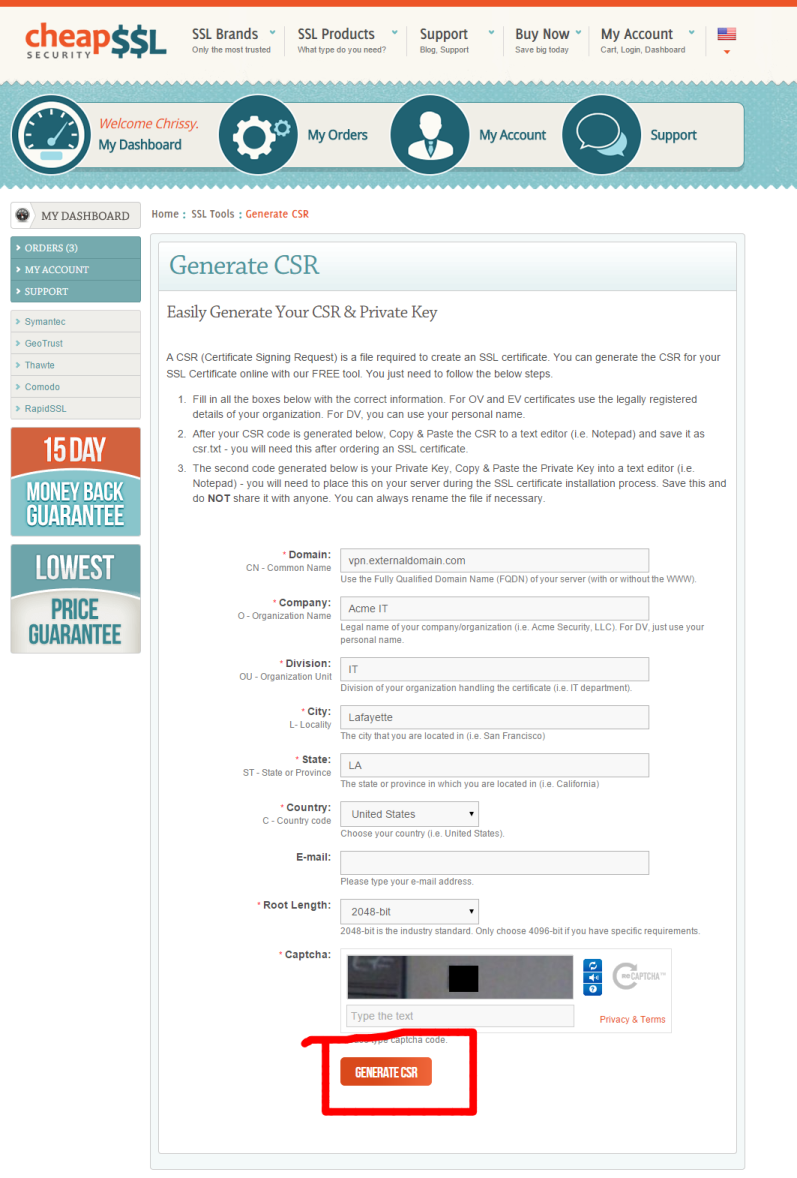
Step 8
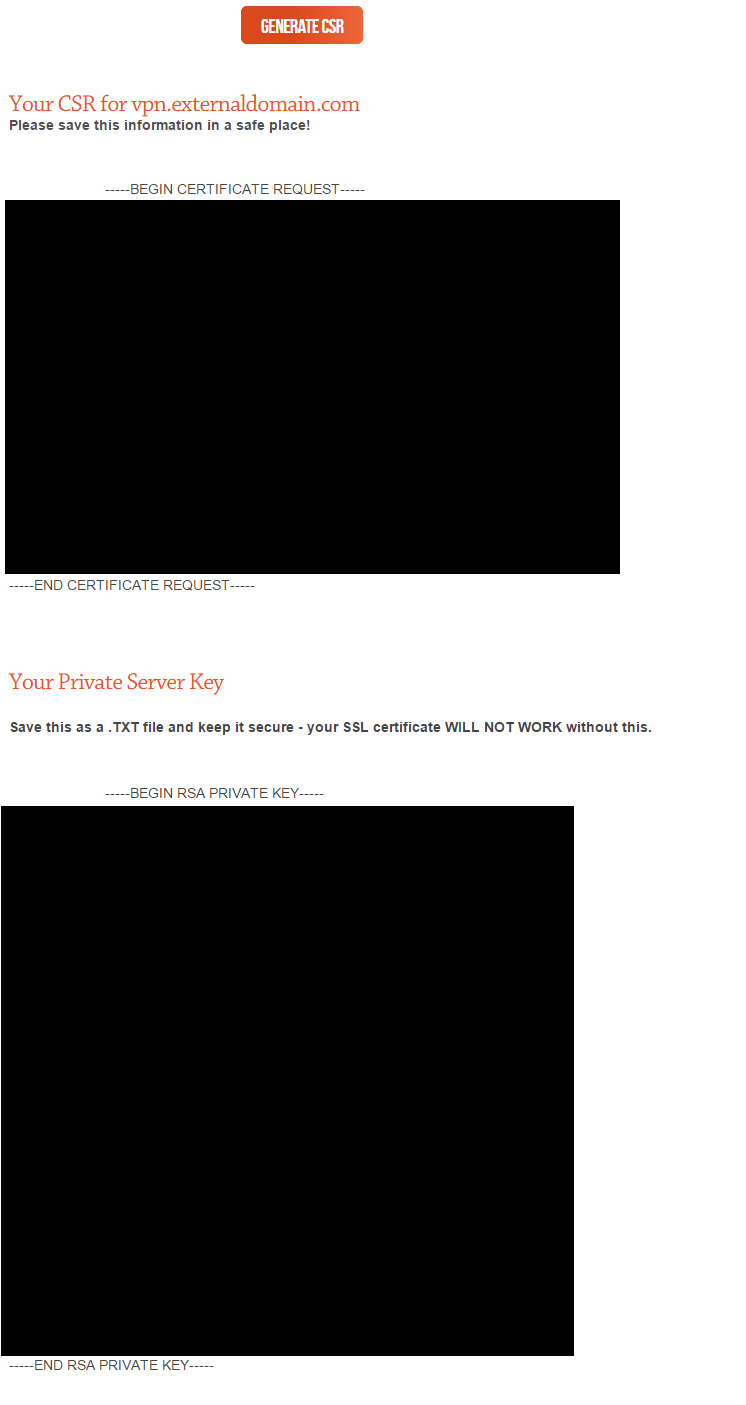
Once you click Generate Your CSR, you'll be presented with the text output of your CSR and Private Key. Save each to a file. Certificates (.crt) are useless without their associated private key. Save the private key with a .key extension. Note that if you used IIS to generate your cert request, you don't have to worry about this part. The private key is already stored in your certificate store.
Copy your CSR to clipboard, then click back on the previous tab you were on.
Step 9
Back to this tab. Paste your CSR, choose your web server, and then leave the default SHA-2 method. Hit Continue
Step 10
Next you'll be brought to a verification page. Verify your info, agree to the terms and conditions, then click Continue.
Step 11
Now check your email. If you chose to validate via email, you should receive a message from Comodo Security Services with the subject ORDER #nnnnn- Domain Control Validation for yourssldomain.tld. The email will provide a link and validation code. Follow the link, enter your validation code, then check your email again.
Step 12
Open the email with the subject ORDER #nnnnn- Your PositiveSSL Certificate for yourssldomain.tld. Download the zip, extract the contents, and enjoy securing your home lab or small business with your newly minted SSL cert for 6 silly dollars a year.
Bonus
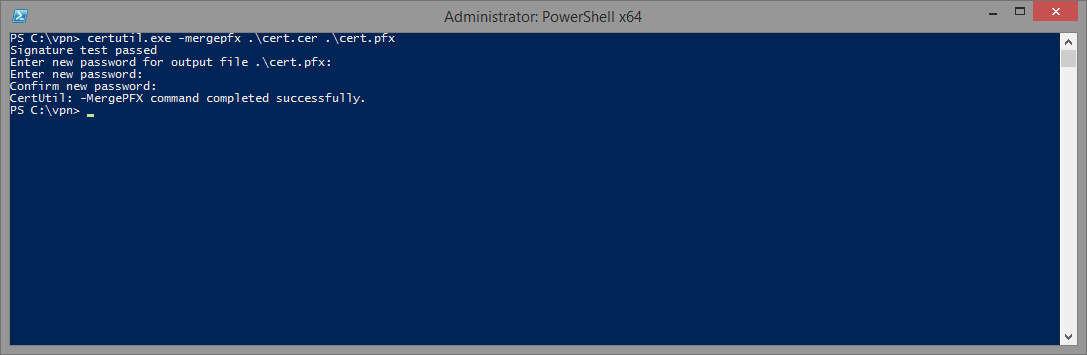
If you used the online CSR generator, remember when you saved your private key? You'll need to combine the .crt (or .cer if you named it that) and the .key files into a .pfx file to make it usable. One straightforward way is with OpenSSL:
1openssl pkcs12 -export -inkey cert.key -in cert.cer -out cert.pfx
If you generated the CSR in IIS, your private key is already in the Windows certificate store. In that case, complete the pending request in IIS (or Certificates MMC), then export the certificate with the private key as a .pfx.
Note: The Windows certutil -MergePFX command merges existing PFX files; it does not combine a standalone .key with a .cer.
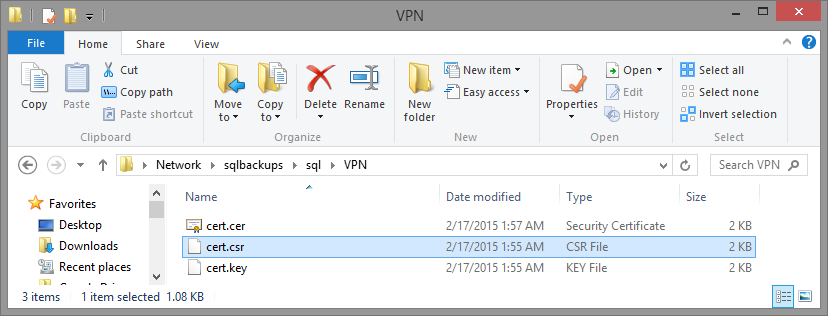
Now open a command prompt, change to the directory that contains your .key and .crt and run the OpenSSL command above to produce cert.pfx.
PS
Oh, and if you realize that you entered the wrong hostname, or if the hostname changes, you can regenerate your cert! Just click My Account -> Complete Orders, click on the order number -> scroll down and click Re-Issue Certificate. I'm assuming your old certificate will just be placed in the Certificate Revocation List.