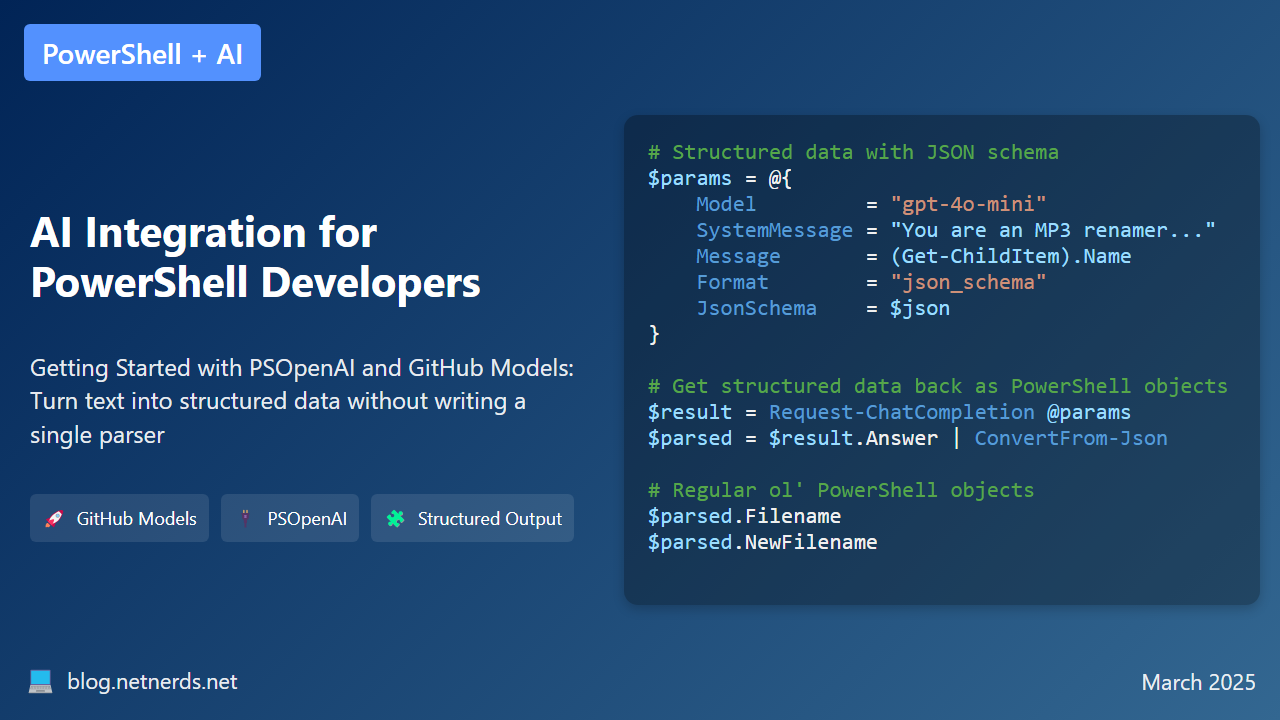
AI Integration for PowerShell Developers: Getting Started with PSOpenAI and GitHub Models
For the longest time, I thought AI would never apply to me as a developer. I don't excel at math, and AI is pretty much all math. But then I realized that I don't need to understand the math to use AI effectively - there's plenty of applied intelligence that's directly relevant to what I do every day with PowerShell.
And while there's a ton of hype around AI, there are genuine use cases for DevOps engineers and PowerShell developers. Once I got past the math fear, I realized that AI is just another tool I could use to work with data, though one that happens to be magically good at dealing with unstructured text.
I wanted to share how fun and practical AI can be, so I decided to write a series about it. Instead of focusing on chat interactions, I'll show you real PowerShell use-cases like turning command outputs into clean objects without writing a single regex pattern.
Getting started
I'll be using GitHub Models for this series. It's a free AI service that runs on Azure infrastructure and is available to anyone with a GitHub account. All you need is a Personal Access Token (PAT) - no separate API subscriptions required. If you'd like to read more, check out my other blog post AI Automation with AI Toolkit for VS Code and GitHub Models: A visual guide.
This tutorial varies slightly from the first one because we'll be using PowerShell instead of VS Code. This means we'll need to go and generate a PAT to use in our REST calls.
Setting up access to GitHub Models
First start by creating a Personal Access Token:
Access Developer Settings:
- Sign in to your GitHub account
- Click your profile picture → Settings → Developer settings
Navigate to Personal Access Tokens:
- Click Personal access tokens → Fine-grained tokens
Generate a New Token:
- Click Generate new token
- Name it something like "PowerShell AI Integration"
- Set an expiration date
- Under Resource owner, select your username
- Review what it says
- Click Generate token and save it securely
A quick note on security: GitHub PATs can have broad access to your repositories and account. For production use, create a dedicated token with minimal permissions. For this tutorial, you don't need to grant any specific repository permissions since we're only using the token for API authentication with GitHub Models.
By default, the option for just public read access is selected. Go ahead with that.
Installing and configuring PSOpenAI
Next, we'll be using my preferred OpenAI wrapper for PowerShell: PSOpenAI. I use PSOpenAI because the developer is responsive to issues and releases new versions often. It's also all written really well and I just enjoy using the module.
Getting PSOpenAI set up is straightforward:
1# Install the module
2Install-Module -Name PSOpenAI -Scope CurrentUser
3
4# Set your environment variables
5$env:OPENAI_API_KEY  = "Your_GitHub_PAT"
6$env:OPENAI_API_BASE  = "https://models.inference.ai.azure.com"
That $env:OPENAI_API_BASE value points to GitHub models. Yes, it says azure.com but it's actually the endpoint for GitHub's AI service.
Understanding rate limits
Since GitHub Models is free, it comes with rate limits. Here's what you get on the Free and Pro plans:
| Model Tier | Requests per Minute | Requests per Day |
|---|---|---|
| Low-tier models | 15 | 150 |
| High-tier models | 10 | 50 |
| DeepSeek-R1 | 1 | 8 |
Some AI models are not as smart and require less compute power, and those are the low-tier which means you can use them more than higher-tier models like gpt-4o.
Still, these limits are generous for testing and learning before moving to a paid service for production use. When GitHub announced they'd be giving free access to AI APIs, I thought it was brilliant. They're already giving away 60-240 hours of compute with Codespaces and this seems like the natural next step.
From basic calls to structured data
So now that we've got PSOpenAI installed and our PAT setup, let's make a call.
Your first AI call
1$params = @{
2    Model         = "gpt-4o-mini"
3    SystemMessage = "You are a PowerShell expert."
4    Message       = "How do I splat?"
5}
6
7Request-ChatCompletion @params | Select-Object -ExpandProperty Answer
Pretty straightforward, right? Notice the SystemMessage parameter - that's what tells the model to give us PowerShell-specific answers. Without it, asking "How do I splat?" could get you anything from baseball terminology to sound effects. Setting the system message to "You are a PowerShell expert" ensures we get PowerShell-relevant responses.
Behind the scenes: How it works
When you use a wrapper like PSOpenAI, it's handling all the API complexity for you. But if you're curious what that looks like, it's just a bunch of REST calls:
 1# This is roughly what PSOpenAI is doing for you
 2
 3# Here is the authentication
 4$headers = @{
 5    "Content-Type"  = "application/json"
 6    "Authorization" = "Bearer $env:OPENAI_API_KEY"
 7    "X-Model"       = "gpt-4o-mini"
 8}
 9
10# Setup the body of Invoke-RestMethod
11$body = @{
12    messages = @(
13        @{
14            role = "system"
15            content = "You are a PowerShell expert."
16        },
17        @{
18            role = "user"
19            content = "What is a splat?"
20        }
21    )
22} | ConvertTo-Json -Depth 5
23
24# Then make the call to GitHub models
25$params = @{
26    Uri     = "$env:OPENAI_API_BASE/chat/completions"
27    Method  = "POST"
28    Headers = $headers
29    Body    = $body
30}
31
32$response = Invoke-RestMethod @params
33$response.choices[0].message.content
REST calls and raw JSON are fine for chatting with AI, but real automation needs structured data. Let's look at how to get PowerShell objects instead of raw text.
Working with Structured Output
When you chat with AI, it usually gives you paragraphs of text. That's great for humans, but terrible for automation. What we really want are PowerShell objects we can work with - things we can pipe, filter, and manipulate using standard PowerShell commands.
That's where structured output comes in. It lets us tell the AI exactly what format we want the data in, just like we do with parameter validation in PowerShell functions. Instead of getting back a wall of text about beer culture, we can get a clean object with specific properties.
Here's how it works:
- First, you define a schema - basically a template that tells the AI exactly what properties you want back and what values are allowed (think of it like a SQL table)
- Then you tell the AI to use that schema when it responds
- Finally, you get back JSON that you can easily turn into a proper PowerShell object
Let's try something practical - asking AI if certain topics are more associated with American, Belgian, or British culture. We'll create a schema that forces the AI to pick one country and explain its explanation.
 1# Define a schema for structured output
 2$schema = @{
 3    name   = "cultural_comparison_schema"
 4    strict = $true
 5    schema = @{
 6        type       = "object"
 7        properties = @{
 8            country = @{
 9                type = "string"
10                enum = @("USA", "Belgium", "Britain")
11                description = "Is the topic more American, Belgian or British?"
12            }
13            explanation = @{
14                type        = "string"
15                description = "What is the reasoning behind this conclusion?"
16            }
17        }
18        required = @("country", "explanation")
19        additionalProperties = $false
20    }
21}
22
23# Convert to JSON
24$json = $schema | ConvertTo-Json -Depth 10
25
26# Request with structured output
27$params = @{
28    Model         = "gpt-4o-mini"
29    Message       = "Is beer more American, Belgian or British?"
30    Format        = "json_schema"
31    JsonSchema    = $json
32}
33# Get structured data back as PowerShell objects
34$result = Request-ChatCompletion @params
35$parsed = $result.Answer | ConvertFrom-Json
36
37# Now you can pipe and filter like normal PowerShell objects
38$parsed.country
39$parsed.explanation
Without structured output, you'd be stuck writing regex to parse free-text responses about cultural differences. With a schema in place, you get consistent data that's ready for automation.
The schema might look complicated at first, but it's doing what parameter validation does in PowerShell - making sure you get data in a format your code can handle. You're basically telling the AI "don't give me a paragraph about beer, give me a specific country name and tell me why you came to that conclusion."
Creating a schema feels similar to parameter validation in PowerShell:
1# Parameter validation in PowerShell
2[Parameter(Mandatory)]
3[ValidateSet("USA", "Belgium", "Britain")]
4[string]$country
By defining schemas for your AI outputs, you're creating a contract between your code and the AI - "here's exactly what I need back." This way you know what you're getting every time, which makes writing scripts to automate tasks possible.
Now let's put all this together in a reusable function.
Building a reusable function
Let's wrap everything we've learned into a function that can handle multiple topics. It'll take care of the schema definition, make the API call, and return clean PowerShell objects:
 1function Compare-CountryCulture {
 2    [CmdletBinding()]
 3    param(
 4        [Parameter(Mandatory, ValueFromPipeline, Position = 0)]
 5        [string]$Topic,
 6        [string]$Model   = "gpt-4o-mini",
 7        [string]$ApiBase = "https://models.inference.ai.azure.com",
 8        [string]$ApiKey  = $env:OPENAI_API_KEY
 9    )
10    begin {
11        # Define schema once for efficiency
12        $schema = @{
13            name   = "cultural_comparison_schema"
14            strict = $true
15            schema = @{
16                type       = "object"
17                properties = @{
18                    country = @{
19                        type = "string"
20                        enum = @("USA", "Belgium", "Britain")
21                        description = "Is the topic more American, Belgian or British?"
22                    }
23                    explanation = @{
24                        type        = "string"
25                        description = "What is the explanation behind this conclusion?"
26                    }
27                }
28                required = @("country", "explanation")
29                additionalProperties = $false
30            }
31        }
32        $json = $schema | ConvertTo-Json -Depth 5
33    }
34    process {
35        $params = @{
36            ApiBase     = $ApiBase
37            ApiKey      = $ApiKey
38            Model       = $Model
39            Message     = "Is $Topic more American, Belgian or British?"
40            Format      = "json_schema"
41            JsonSchema  = $json
42        }
43
44        $result = Request-ChatCompletion @params
45        $parsed = $result.Answer | ConvertFrom-Json
46
47        [PSCustomObject]@{
48            Topic       = $Topic
49            Country     = $parsed.country
50            explanation = $parsed.explanation
51        }
52    }
53}
54
55# Use it with pipeline input
56"beer", "hot dogs", "football" | Compare-CountryCulture
This function follows standard PowerShell patterns - parameters, pipeline support, and returning clean objects. But now it uses AI to make cultural assessments that would otherwise require hand-coded logic or a database of cultural associations.
Basically, it's the same as any other PowerShell function but now it's super smart because it uses artificial intelligence. Beautiful.
🎉 Congratulations! You've just created your first AI integration using PowerShell. No complex setup - just a regular PowerShell function that happens to be powered by AI.
If you want to dive deeper, check out the PSOpenAI GitHub repository and GitHub Models documentation.
Why this matters for PowerShell automation
PowerShell has always been about making complex tasks simpler through automation. Adding AI extends that capability into areas that classic scripting can't easily handle - understanding context, making judgments based on patterns, and extracting structured data from unstructured text.
What's Coming in the Series
My upcoming posts will build on the foundation you just built, starting with local AI models. Tools like Ollama and LM Studio let you run AI entirely offline on your machine - perfect for environments with strict data requirements or when you want to avoid external APIs.
Here's what we'll cover:
- Asking tiny questions: Using local LLMs for simple true/false questions
- Asking bigger questions: Remote LLMs for processing complex command outputs
- PDF Text to SQL Data: Using OpenAI's structured output to extract data from documents
- Automating document classification: Integrating AI with SharePoint and Power Platform
- Building an intelligent document processor: Implementing AI in Azure Functions
Each post will feature practical examples you can adapt to your own work, focusing on actual problems that we must solve regularly.
We'll begin with basic classification using local models, then progress to processing more complex outputs and converting them into structured data. By the end, you'll see how to build complete solutions that seamlessly integrate AI into your existing tools and workflows.
This post is part of my AI Integration for Automation Engineers series. If you enjoyed it, check out these other posts:
- AI Automation with AI Toolkit for VS Code and GitHub Models: A visual guide
- Getting Started with AI for PowerShell Developers: PSOpenAI and GitHub Models
- Asking Tiny Questions: Local LLMs for PowerShell Devs
- Local Models Mildly Demystified
- Asking Bigger Questions: Remote LLMs for Automation Engineers
- PDF Text to SQL Data: Using OpenAI's Structured Output with PSOpenAI
- Automating Document Classification in SharePoint with Power Platform and AI
- Document Intelligence with Azure Functions: A Practical Implementation
And as always, if you're interested in diving deeper into these topics, my upcoming AI book covers everything from local models to advanced automation techniques. Use code gaipbl45 for 45% off.