AI Automation with AI Toolkit for VS Code and GitHub Models: A Visual Guide
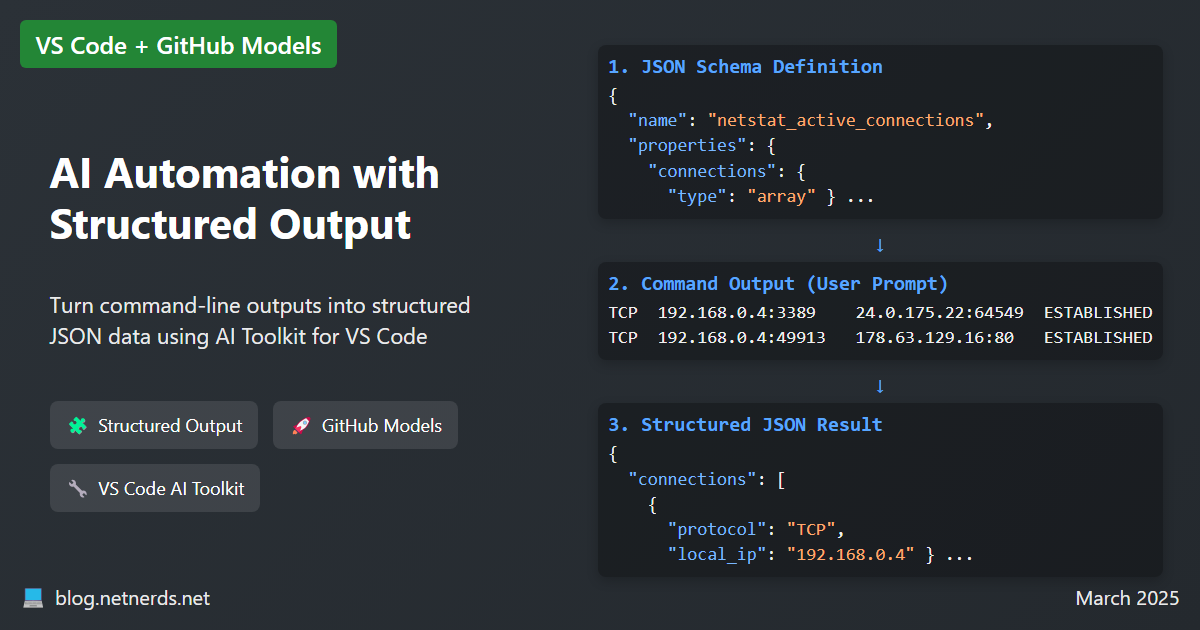
This is the first installment in a series of posts that show actually useful use-cases for AI in automation. Most of the content will revolve around "structured output," which is basically JSON-formatted AI output. You'll learn more about structured output in-depth later on, but in this post, I wanted to give a quick overview of some tools that help you use AI. I also wanted to give a visual of the process because I like seeing GUIs before jumping into code.
This whole concept for accessing AI using REST was hard for me to grasp initially because I was led to believe it was all magic, and while REST is cool, it's not magic.
So to see this AI REST in action, I'll start with a simple example everyone in IT is familiar with: the good old netstat command. It shows network connections, routing tables, and states - information that's valuable but nearly useless in scripts. While most of us can scan the text output with our eyes to find what we need, extracting specific data programmatically often requires regex gymnastics and string manipulation. So let's see how we'd handle this in AI using AI Toolkit in VS Code and GitHub Models.
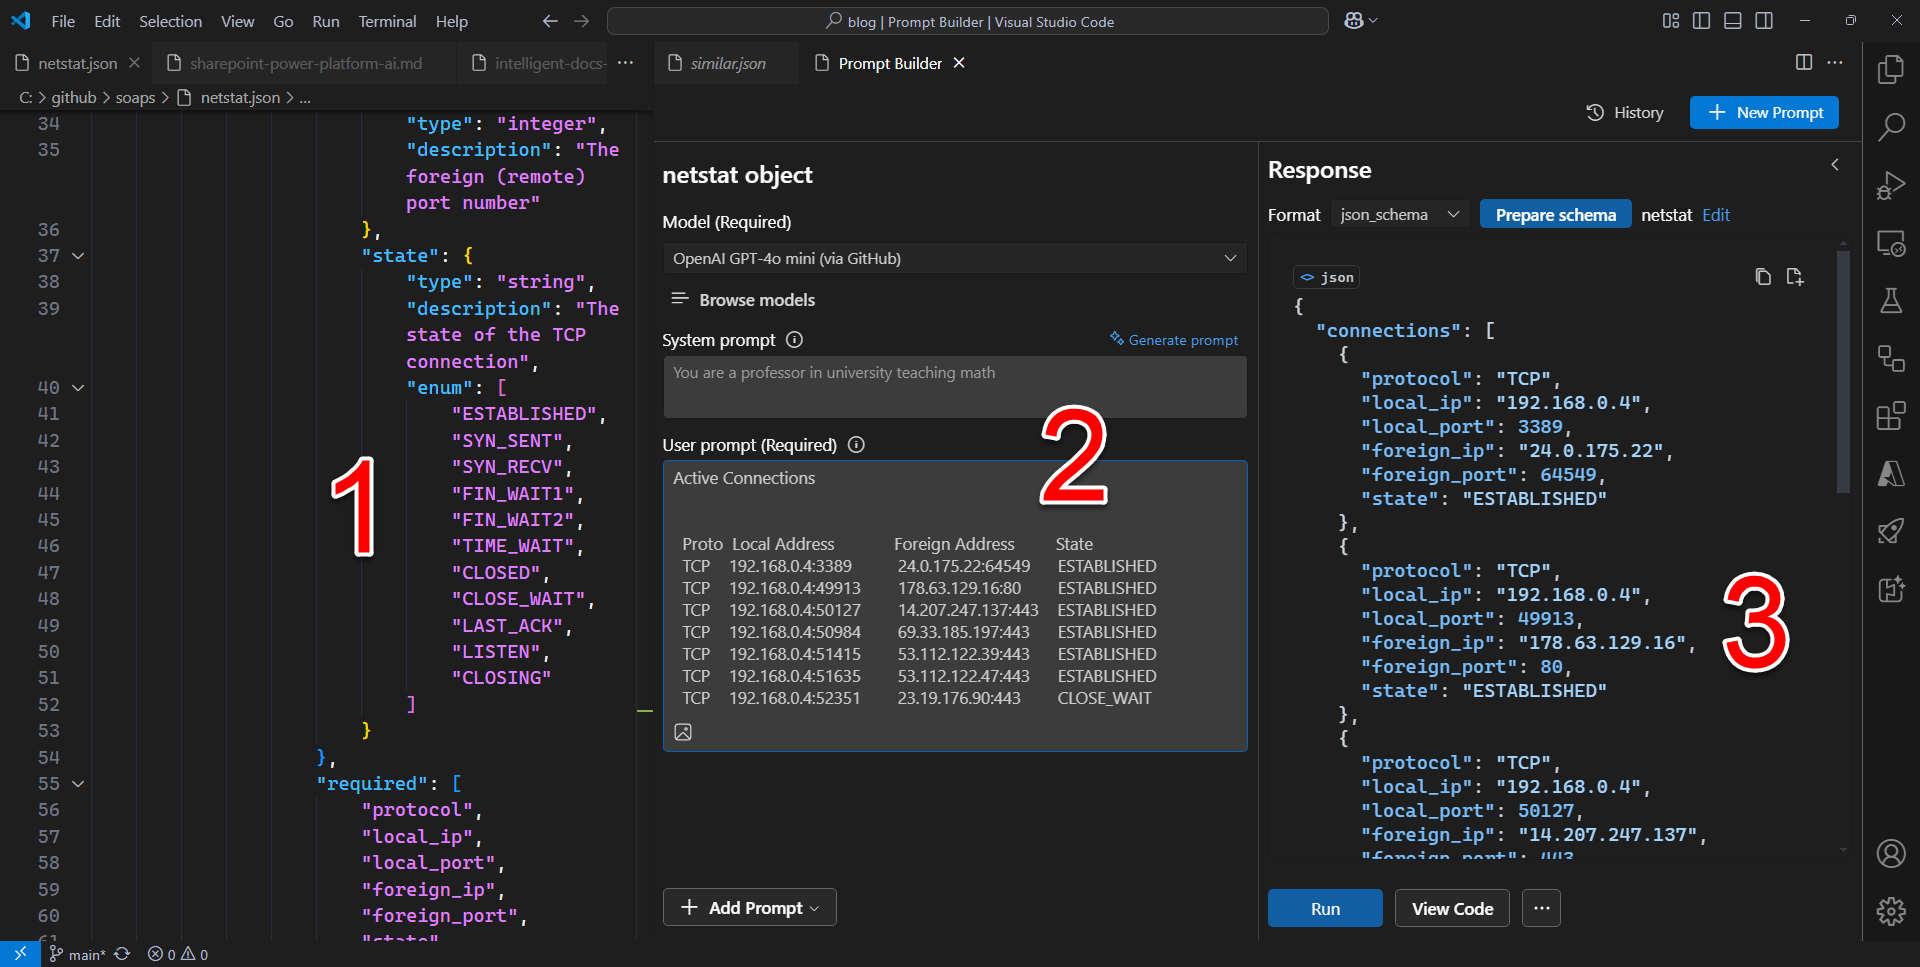
In this screenshot, you see:
On the left, a JSON schema defining what we want from the AI - network connection details with protocol, IPs, ports, and states. I created this by giving ChatGPT a tutorial on OpenAI structured output format, then asking ChatGPT to turn netstat into a JSON structured object. Note that different models may require slightly different schemas (kinda like T-SQL vs PL/SQL) so you should look it up or check my blog.
In the middle is a prompt where I've copy/pasted my output from running
netstat -nin a console.On the right, the structured JSON result that perfectly matches our schema and is ready to use.
Something I appreciate is that slight variations in output format won't break my scripts, so I can paste output from netstat on Linux and netstat from Windows and it won't break, because it's intelligence and not static regex. Something else that's nice is that the schema itself serves as documentation which makes your code shareable and maintainable.
This is what this whole series will be about - getting clean, documented, structured data from AI instead of walls of text.
So here are a couple tools that I use and enjoy, which make working with AI easier.
The AI Toolkit VS Code Extension
Microsoft's AI Toolkit extension is what makes this process so visual and straightforward (to me). It integrates directly into VS Code so you can experiment with AI without context switching.
To start using AI Toolkit, first install the extension from the VS Code marketplace. Once installed, you'll see a new sparkling puzzle piece icon in the Activity Bar - click it to launch the toolkit. Next, if your VS Code isn't already connected and logged into GitHub, you'll be prompted.
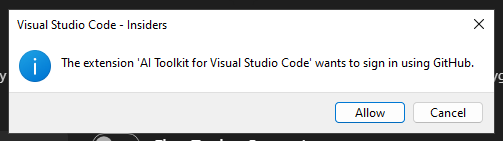
VS Code will open a browser window for authentication. Once you approve and you're authorized, you'll be able to see available models in the Model Catalog.
The extension has several components, but for our purposes the most important is the Prompt Builder, which is what you saw in the first screenshot. This is where you can select models, create schemas, and test prompts without writing a single line of code. Well, other than the schema.
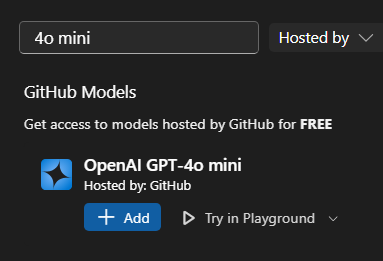
To get started with Prompt Builder, you must first "add" a model by clicking on the big blue "Open Model Catalog" button. Then, wait for it to load and search for 4o mini. This is the best model because it's powerful enough to return accurate results, while also giving you more daily uses in GitHub Models because it's on the low-end tier (we'll read about that more next).
Once you've added OpenAI 4o mini, go download netstat.json from my repo. Next click back to VS Code then click on Prompt Builder under "Tools".
- Change
Formatfromtexttojson_schema - Then click prepare schema
- Select local file
- Select netstat.json that you downloaded earlier
Type netstat -n | Set-Clipboard at your terminal then paste the results into User Prompt. System prompt can be left blank.
Click Run.
Voila! The results are returned as JSON which you can then turn into whatever you'd like, including PowerShell objects.
GitHub Models: Easy AI Development
One of the coolest things about this setup is that it uses GitHub Models. If you haven't heard of them yet, GitHub Models are basically AI models that are accessible via REST through your GitHub account. As you saw when you logged into your GitHub Account and just started using 4o mini in earlier steps, no separate OpenAI account is needed. There's also no API keys to manage, and no billing to set up.

And it's not just OpenAI or a limited number of models. GitHub partnered with Anthropic, Google, NVIDIA and other providers to make their models available directly through GitHub's infrastructure. For those of us who already have GitHub accounts, this removes a huge barrier to entry because we don't need to give any company a credit card or keep track of different API keys.
The drawback is, of course, that there's some rate limitations. Surprisingly, the same rate limitations apply to both the Free and Pro accounts, while you can get more with the more Enterprise-y accounts.
| Plan | Free/Pro | GitHub Team | GitHub Enterprise |
|---|---|---|---|
| Requests per minute (low-tier) | 15 | 30 | 60 |
| Requests per minute (high-tier) | 10 | 20 | 40 |
| Requests per day (low-tier) | 150 | 300 | 600 |
| Requests per day (high-tier) | 50 | 100 | 200 |
GitHub's free tier and pro tiers, which give you a reasonable number of requests per day, are perfect for learning and experimenting. And when you're ready for production, you can just change to your AI endpoints and API keys, like those on Google, AWS or Azure.
But also, if you want start by immediately using your own OpenAI-compatible endpoint like Azure OpenAI Services, follow the Remote inference in Playground tutorial in Microsoft's repo.
What's coming in the series
I wanted to start with this VS Code tool because it makes the concept immediately clear. The power of structured output is that you're getting clean data objects back, not text that needs parsing. That JSON on the right can be instantly converted to a PowerShell object, ready for piping to other commands.
In this series, we're exploring how automation engineers can use AI for real-world tasks—starting small and scaling up. We begin with local LLMs for simple true/false responses and filename cleanup. Then we move on to cloud-based models that parse complex command output into structured PowerShell objects. After that, we extract structured data from PDFs into SQL and use AI to classify SharePoint documents automatically. We wrap it all up by building a production-ready Azure Function for document processing using AI and structured output.
References and Resources
🔗 Get started with AI Toolkit for Visual Studio Code 🔗 Overview for the AI Toolkit for Visual Studio Code 🔗 Models in AI Toolkit - Visual Studio Code 🔗 vscode-ai-toolkit/doc/models.md at main - GitHub 🔗 AI Toolkit FAQ - Visual Studio Code 🔗 Prototyping with AI models - GitHub Docs
This post is part of my AI Integration for Automation Engineers series. If you found it helpful, check out these other posts:
- AI Automation with AI Toolkit for VS Code and GitHub Models: A visual guide
- Getting Started with AI for PowerShell Developers: PSOpenAI and GitHub Models
- Asking Tiny Questions: Local LLMs for PowerShell Devs
- Local Models Mildly Demystified
- Asking Bigger Questions: Remote LLMs for Automation Engineers
- PDF Text to SQL Data: Using OpenAI's Structured Output with PSOpenAI
- Automating Document Classification in SharePoint with Power Platform and AI
- Document Intelligence with Azure Functions: A Practical Implementation
And as always, if you're interested in diving deeper into these topics, my upcoming AI book covers everything from local models to advanced automation techniques. Use code gaipbl45 for 45% off.